The Challenge: A Wet Basement Threatening the Church’s Foundation
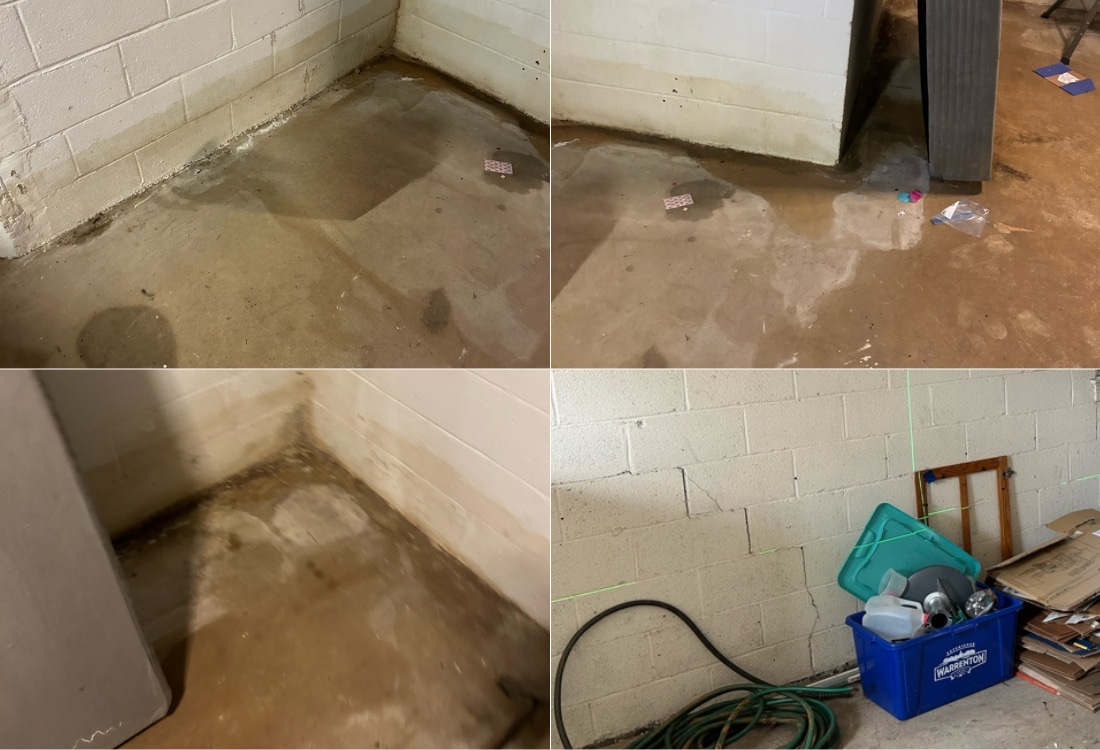
Warrenton United Methodist Church in Warrenton, VA, had been dealing with a wet basement damage for some time. The basement experienced water pooling along the foundation walls, which not only caused damp floors but also posed a risk to the structural integrity of the building. The church faced the following issues:
- Persistent water intrusion and leaks along the foundation walls.
- Increased humidity levels leading to a musty odor and potential mold growth.
- Damp floors weakening the foundation and structure.
- Poor drainage around the foundation, leaving the basement vulnerable to future water damage.
A wet basement can lead to costly repairs and deteriorating air quality if not addressed promptly. To solve these issues, our team designed a tailored waterproofing solution to fix the wet basement and prevent any further water intrusion.
Solution: Our Proven Wet Basement Repair Process
At LUX, we understand the urgency of fixing wet basements to preserve both the structure and indoor air quality. We created a detailed, multi-step solution to address the water intrusion, moisture buildup, and foundation concerns in the church’s basement.
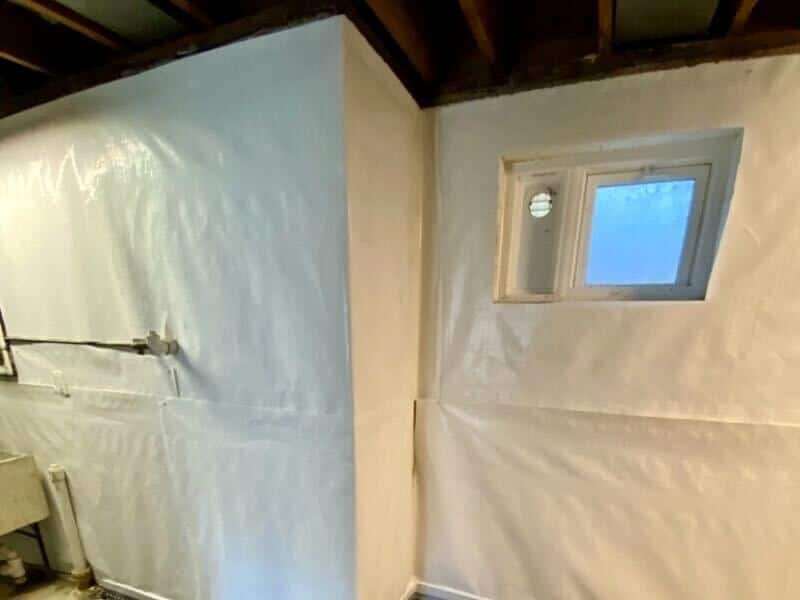
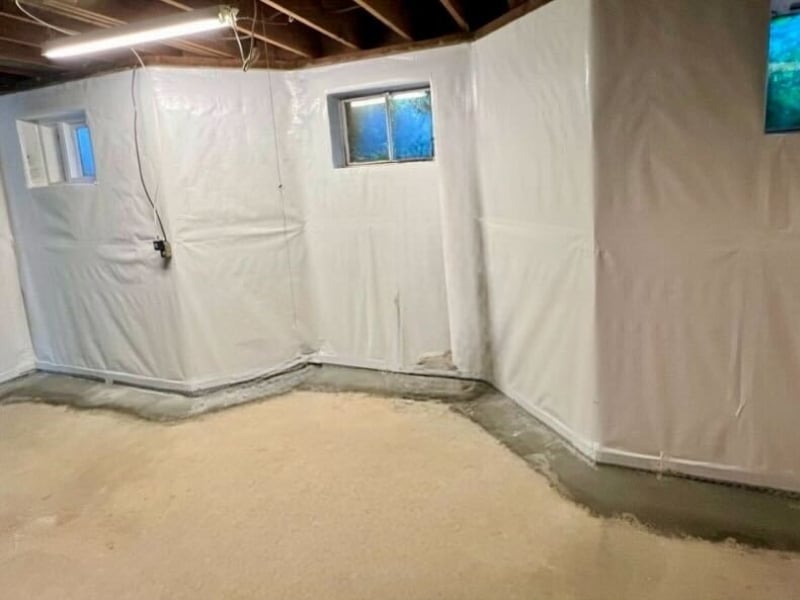
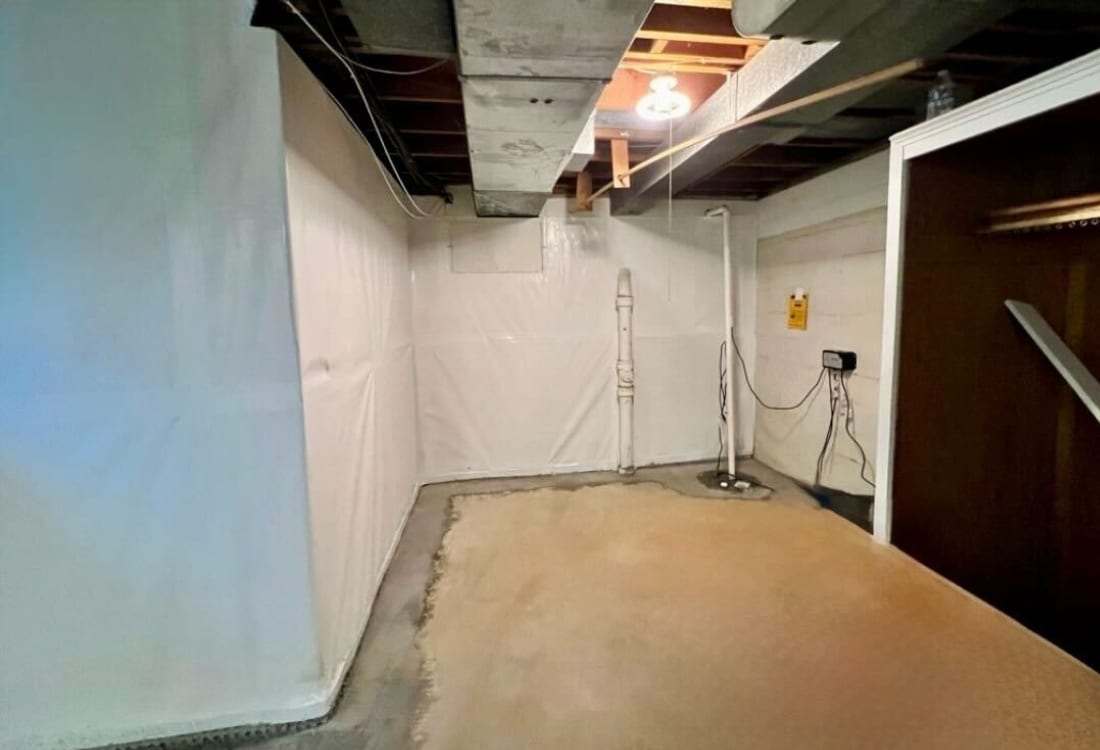
Step 1: High-Quality Vapor Barrier Installation
To begin the process of waterproofing, we installed a 12-mil multi-ply laminate vapor barrier directly on the foundation walls. This vapor barrier serves as a critical defense against water vapor and humidity from seeping through the concrete surfaces. The barrier was:
- Mechanically fastened to the wall.
- Sealed at the top with high-strength polyurethane adhesive.
- Properly tied into the drainage system.
- Finished with overlapping seams, sealed with waterproof tape for permanent protection.
This step not only prevents water intrusion but also eliminates the wet basement smell, addressing the source of musty odors and poor air quality.
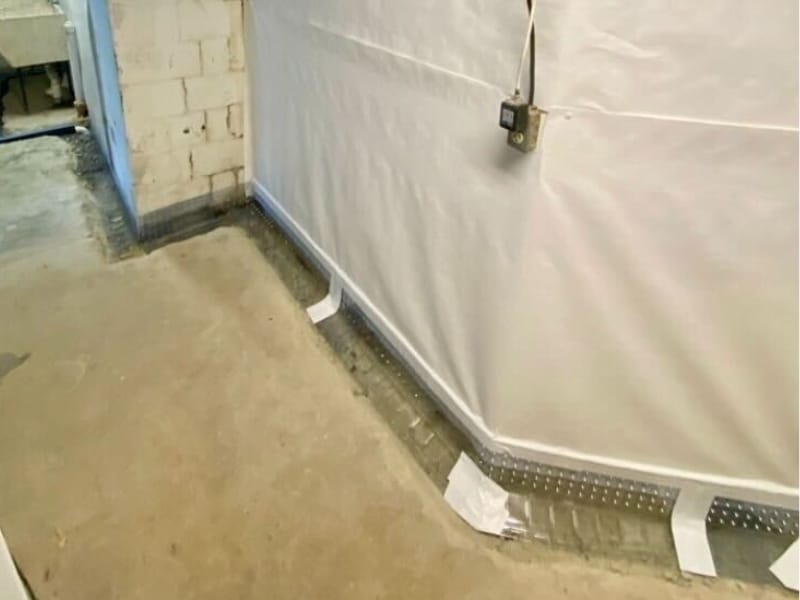
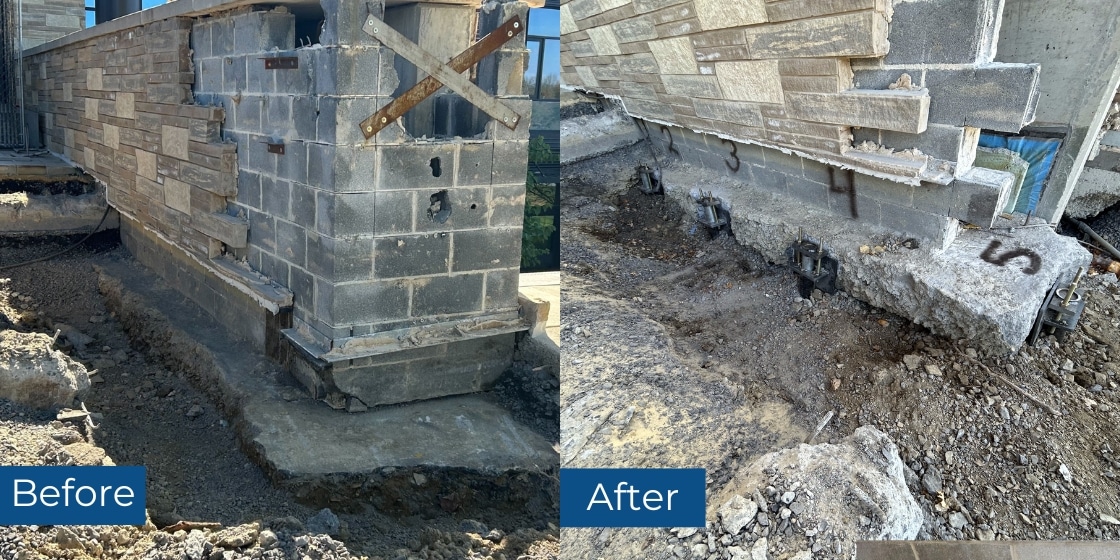
Step 2: Slab Removal and Waterproof Membrane Installation
Next, we removed a section of the concrete slab, approximately 8–12 inches from the foundation wall. This allowed us to trench a path for the under-slab drainage system.
Once the trench was ready, we installed a waterproof membrane beneath the slab. The membrane serves as a barrier between the soil and the basement, ensuring that moisture from the ground is prevented from entering the space.
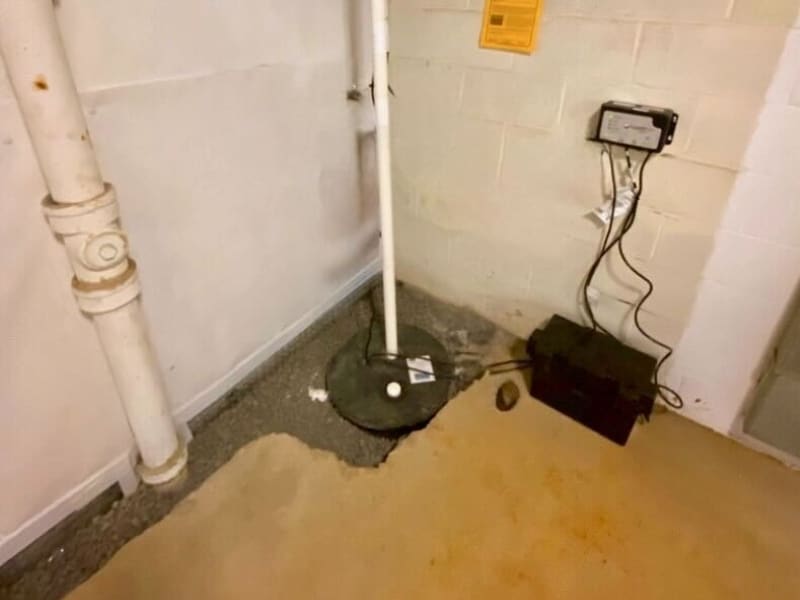
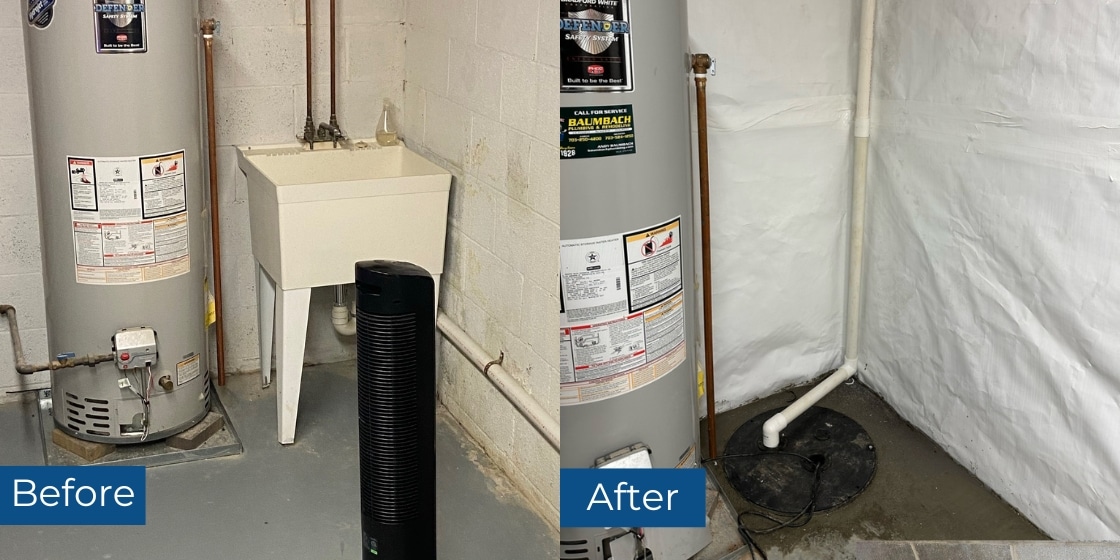
Step 3: Sump Pump Installation with Battery Backup
As part of the water management system, we completed a professional sump pump installation to ensure reliable protection against basement flooding. We installed a new sump pit equipped with the Zoeller ProPack—a comprehensive, high-performance solution that includes:
- A powerful 1/3 HP primary sump pump
- A backup pump with a battery system for added protection during power outages
- An airtight lid to reduce humidity and odor
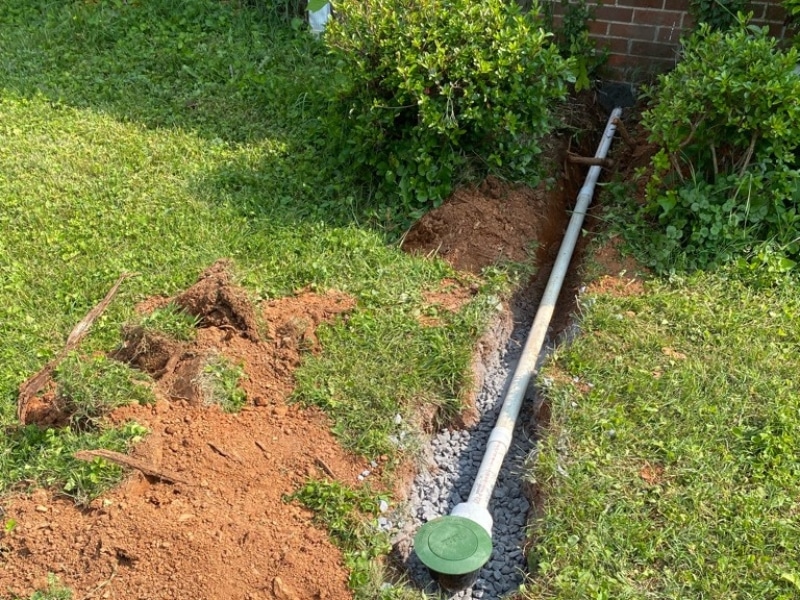
The discharge line was buried 10–12 feet away from the foundation, with a pop-up emitter to ensure efficient water release.
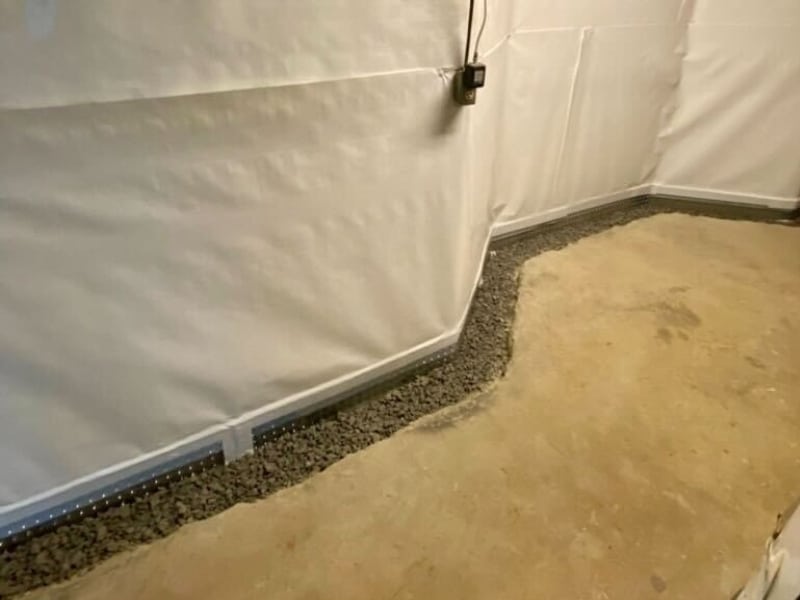
Step 4: Gravel Installation for Improved Drainage
After the waterproof membrane was placed, we added a layer of gravel to improve drainage beneath the basement floor. The gravel helps direct groundwater to the drainage system more efficiently, ensuring that moisture is quickly redirected away from the foundation. This layer also aids in preventing water from pooling underneath the floor, keeping the basement dry and stable.
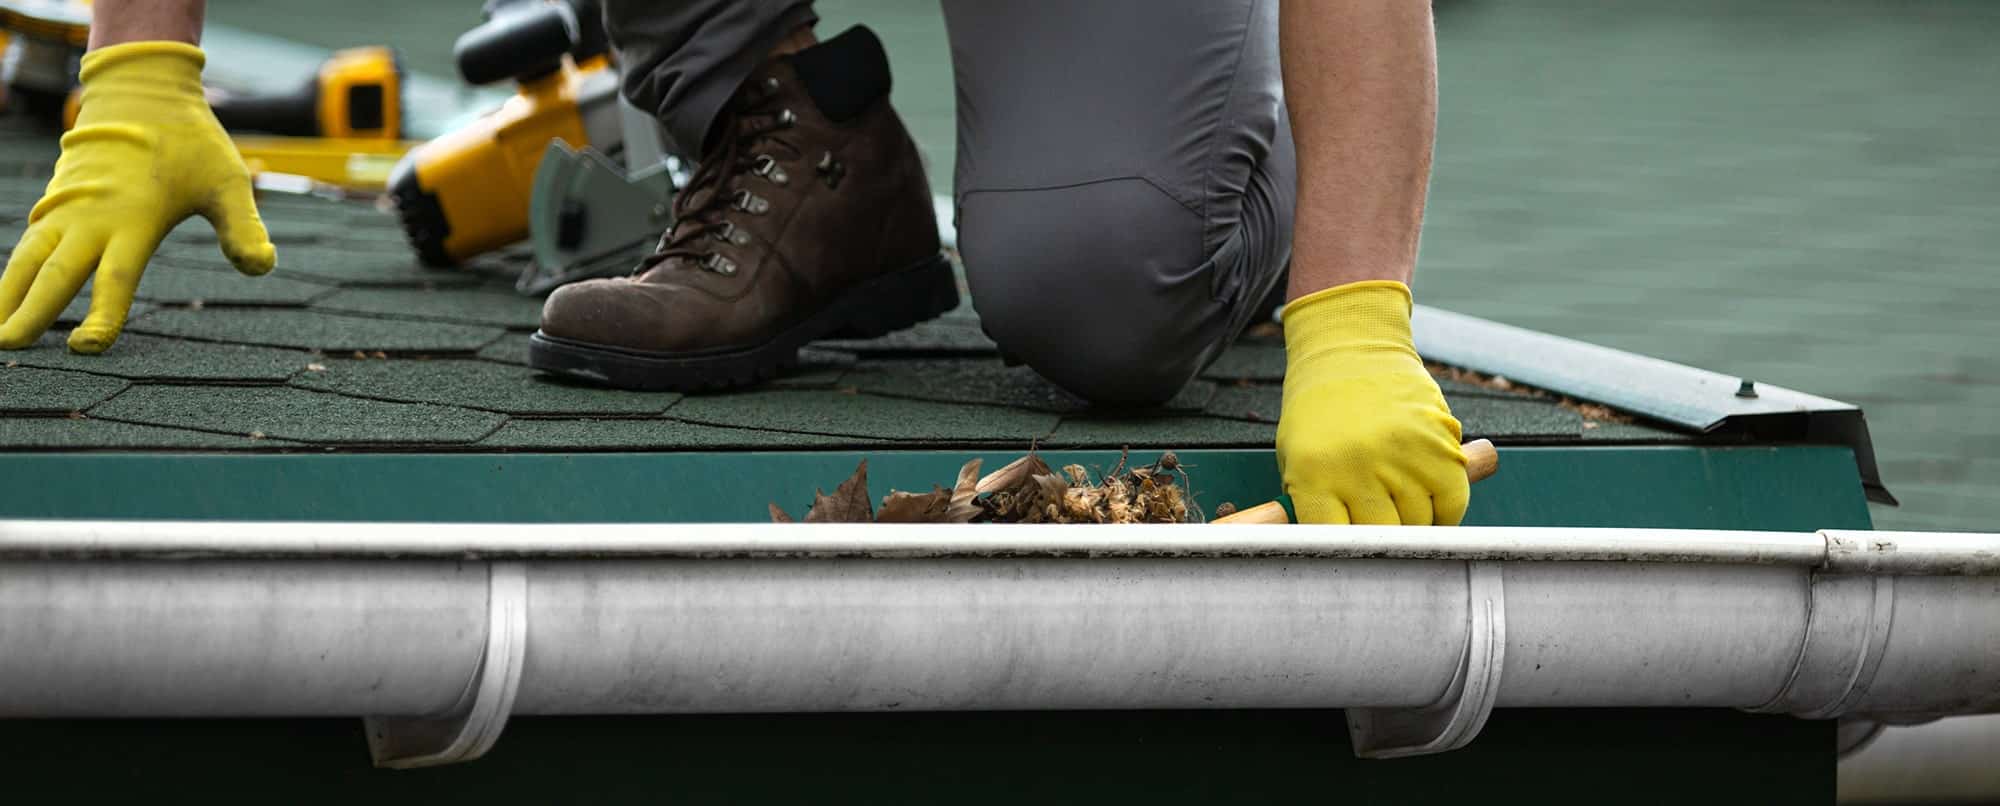
Step 5: Downspout Extension Installation
To prevent water from accumulating near the foundation, we installed downspout extensions. These extensions redirect rainwater away from the foundation, reducing the risk of future water intrusion and helping maintain the basement’s dry conditions.
Step 6: Concrete Restoration and Final Sealing
Finally, we restored the basement floor by replacing and leveling the concrete to match the surrounding areas. This step seals off the basement from any further water intrusion, ensuring the slab is stable and smooth. Once the concrete was set, we performed final sealing to ensure a tight, waterproof barrier and a finished look.
The Result: A Dry, Odor-Free, and Reliable Church’s Basement Space
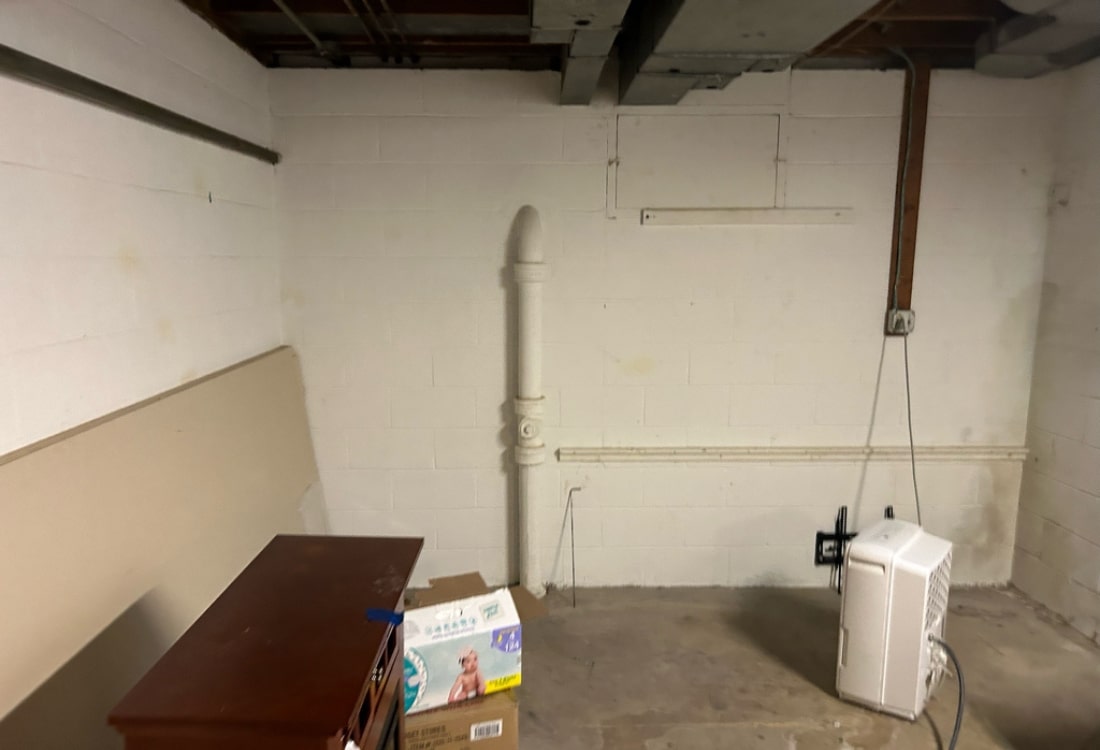
After completing the wet basement repair, the church now enjoys a dry, healthy basement. The water intrusion issues were solved with a complete drainage system, vapor barrier, and sump pump installation. The basement is now:
- Completely Protected from Water Intrusion – The drainage system and sump pump work together to keep water away from the basement.
- Stable and Structurally Sound – The foundation is secure, with no further risk of water damage to the structure.
- Healthier Indoor Air Quality – The vapor barrier prevents moisture buildup, reducing humidity and the risk of mold growth, improving air quality throughout the building.
This successful repair ensures the church’s foundation remains safe and dry for years to come.
Fix Your Wet Basement and Foundation Problems Before They Escalate
A wet basement can quickly lead to mold growth, structural damage, and poor indoor air quality. Don’t wait until it becomes a bigger issue. LUX Foundation Solutions offers expert services in basement waterprooofing, foundation repair, crawl space repair, and concrete restoration—providing lasting protection for your home or business.
We proudly serve Northern Virginia, West Virginia, North Central Virginia, and the Shenandoah Valley.
Call (540) 508-8587 now or schedule your free inspection online to protect your home or business from water damage and foundation issues.
Gallery