CRAWL SPACE ENCAPSULATION
Your Crawl Space Shield Against Harmful Conditions
Prevent moisture problems, improve air quality, lower energy costs, and make your Northern Virginia home safer and more comfortable with crawl space encapsulation.
What Is Crawl Space Encapsulation?
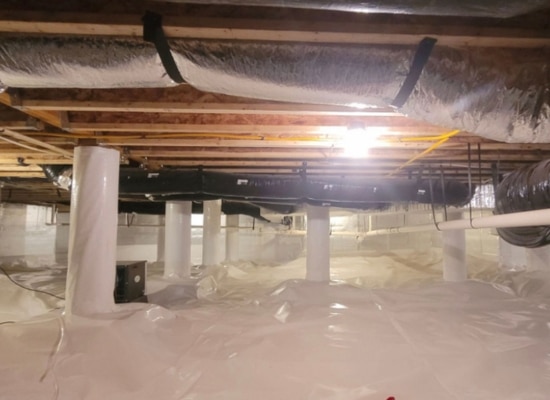
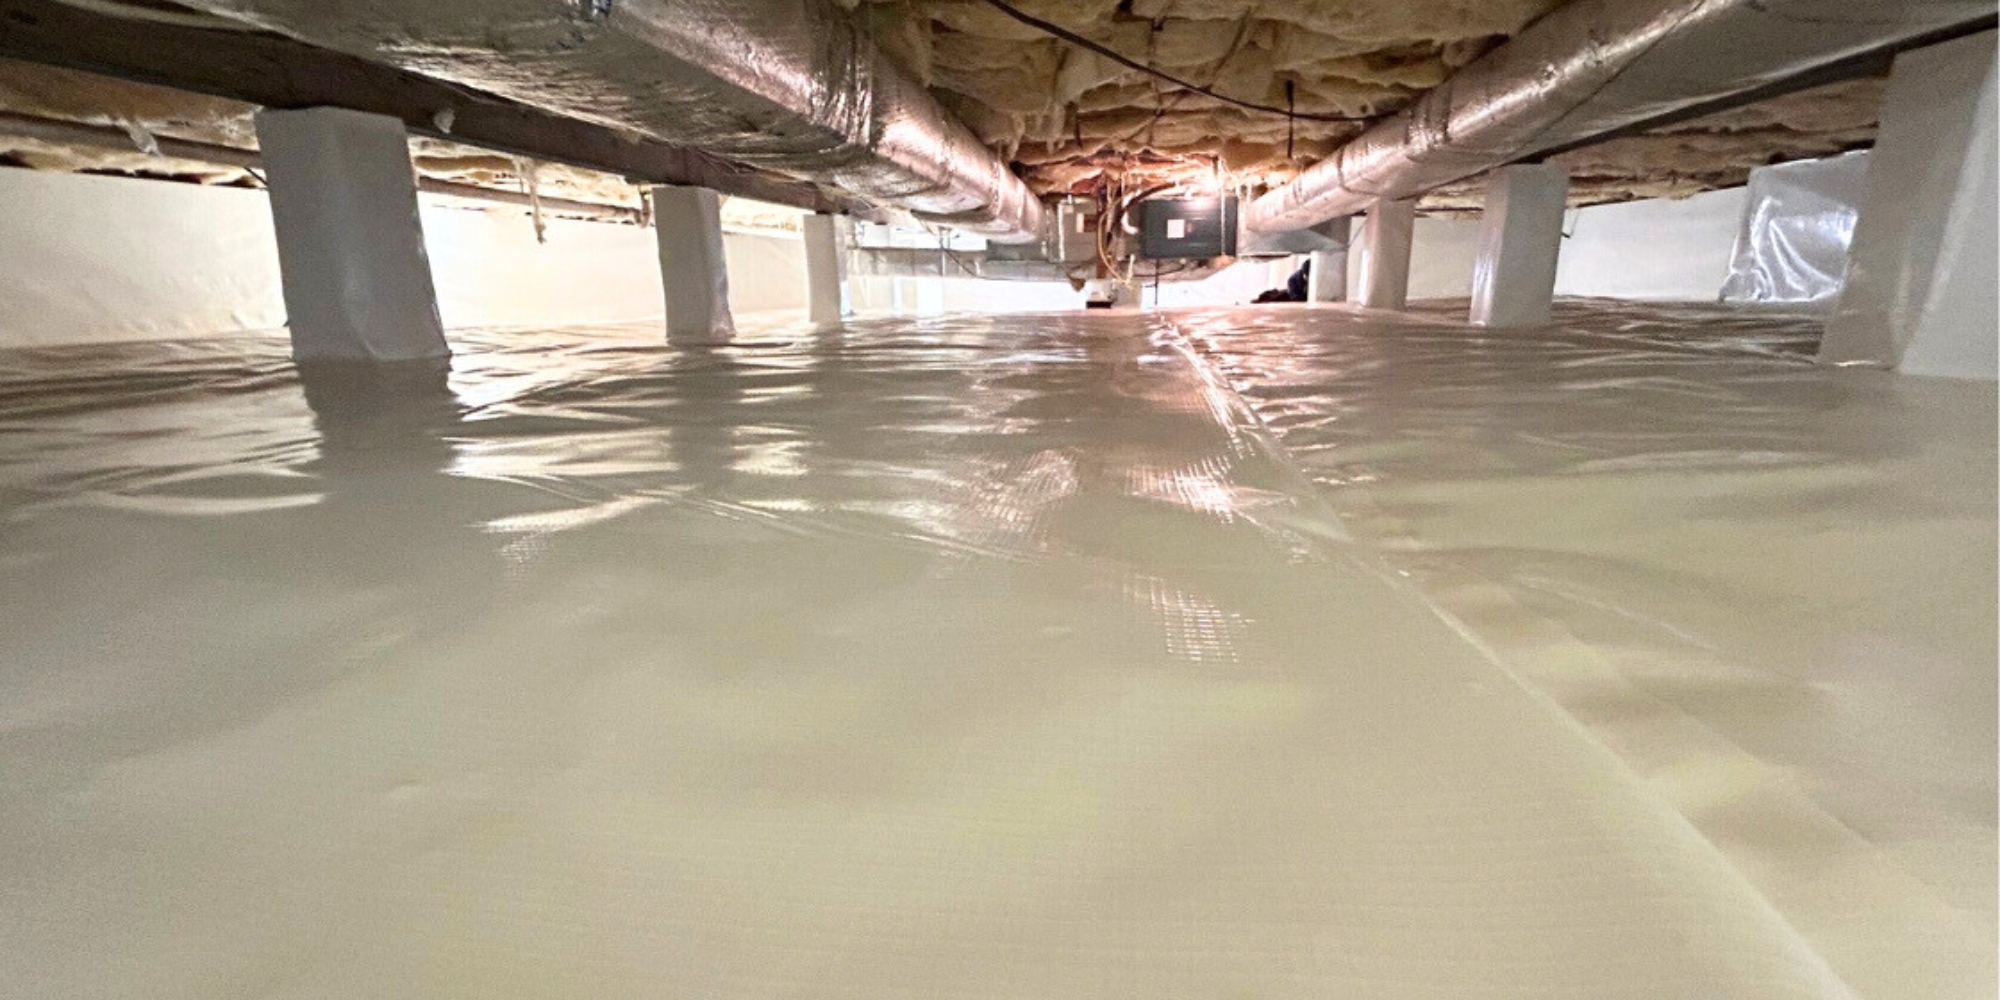
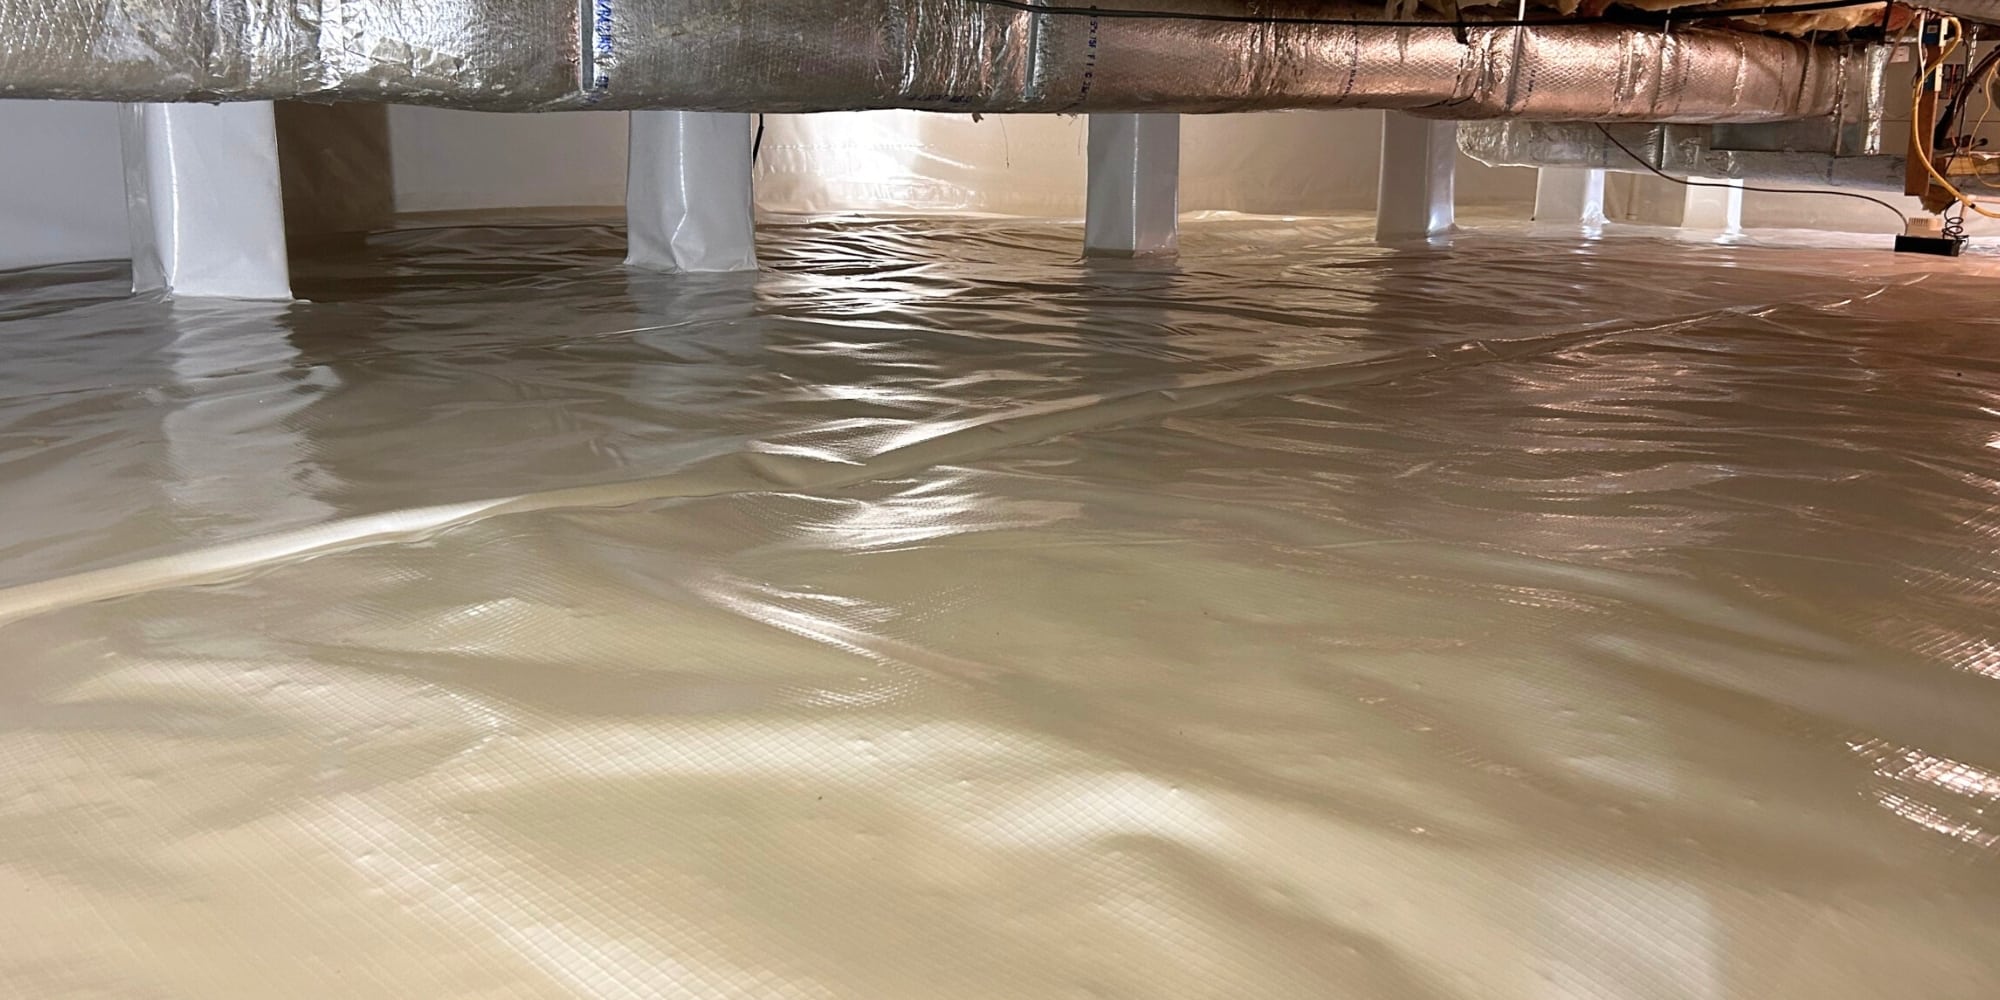
Crawl space encapsulation is the process of creating a protective barrier to your home’s crawlspace to prevent moisture from seeping and contaminants from entering. It involves cleaning the area, installing a Class 1 vapor barrier in walls and floors, sealing openings and vents, and insulating and waterproofing the crawlspace.
It transforms your dirty and moldy crawl space into a clean and dry area to ensure a healthier, safer, and moisture-controlled environment within your home.
Why is Crawl Space Encapsulation Necessary?
Crawl space encapsulation is a worthwhile investment to protect the health and safety of your family and home. A controlled and encapsulated crawl space brings various benefits, including:
- Enhanced indoor air quality and prevents allergens
- Controls crawl space humidity levels
- Prevents moisture intrusion and water damage
- Prevent health problems caused by mold and pest infestations
- Reduced energy bills
- Increased home’s structural integrity
- Improved overall comfort and health
- Increase property value
Crawl space encapsulation contractors, like our LUX expert team, understand the importance of having a healthy crawlspace and are committed to providing tailored encapsulation services to meet your specific needs.
Signs You Need Crawl Space Encapsulation
The common warning signs that you need encapsulation of crawl space include:
How to Encapsulate a Crawl Space?
If your crawlspace is unsealed or if you have exposed dirt floors, here’s how we utilize a multi-faceted approach in encapsulating crawl space to ensure its safety and efficiency:
1. Drainage System Correction (If Required)
Moisture infiltration can wreak havoc on your foundation. If needed, based on assessment, we will utilize drainage systems to efficiently remove water, preventing accumulation within the crawlspace and maintaining a dry environment. This includes the appropriate leveling, grading, and ensuring water management efficiency.
2. Sump Pumps (If Required)
Implementing sump pumps to effectively manage groundwater, preventing it from seeping into your home by capturing and pumping it away from the crawlspace.
3. Downspout Extensions (If required)
Redirecting water away from the crawlspace by using downspout extensions, which play a critical role in preventing moisture-related issues.
4. Sealing Outside Air Leaks
Thoroughly seal vents, foundation cracks, gaps, and the crawlspace door/access points to prevent external elements from affecting the space.
5. Vapor Barrier for Moisture Control of Ground and Foundation
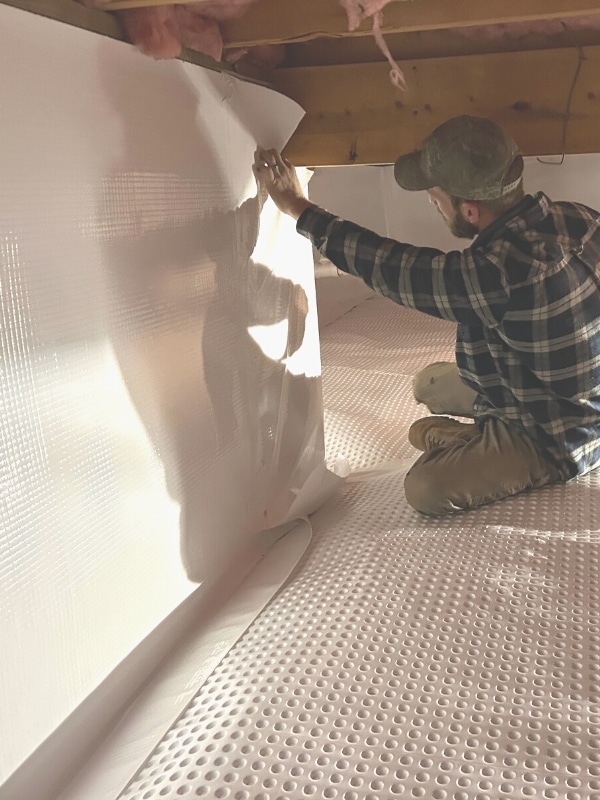
Utilizing a Class 1 Vapor Barrier to control ground moisture, following proper installation methods, and ensuring a tight seal against the foundation at the top joint 2″ below the sill plate and seal overlaps.
6. Thermal Insulation Repair, Upgrade, or Check
Addressing damaged insulation by replacing it with standard batt insulation to match what was originally installed. Upgrade to a rigid panel foam insulation, often with a radiant foil face. ( Not spray foam; this is a bad option.), to enhance insulation performance within the crawlspace.
7. Conditioning the Crawl Space Air
Evaluating the need for a commercial-grade crawl space dehumidifier and checking if the HVAC system is available and rated high enough to be utilized for conditioning the crawlspace. Sometimes, it only requires a vent to be installed in the ductwork often found in the crawlspace, but a trained professional must evaluate it, as guesswork can lead to adverse effects.
The Installation Video of Crawl Space Encapsulation
Watch the remarkable transformation of a crawl space in a Northern Virginia home through our insightful video.
The video offers a comprehensive overview of the encapsulation process, showcasing the before-and-after photos, and the detailed discussion about the challenges the crawl space posed and how the LUX team addressed the problems through the strategic measures taken to mitigate them.
Gain valuable insights into the effective encapsulation process that ensures a lasting solution for your home.
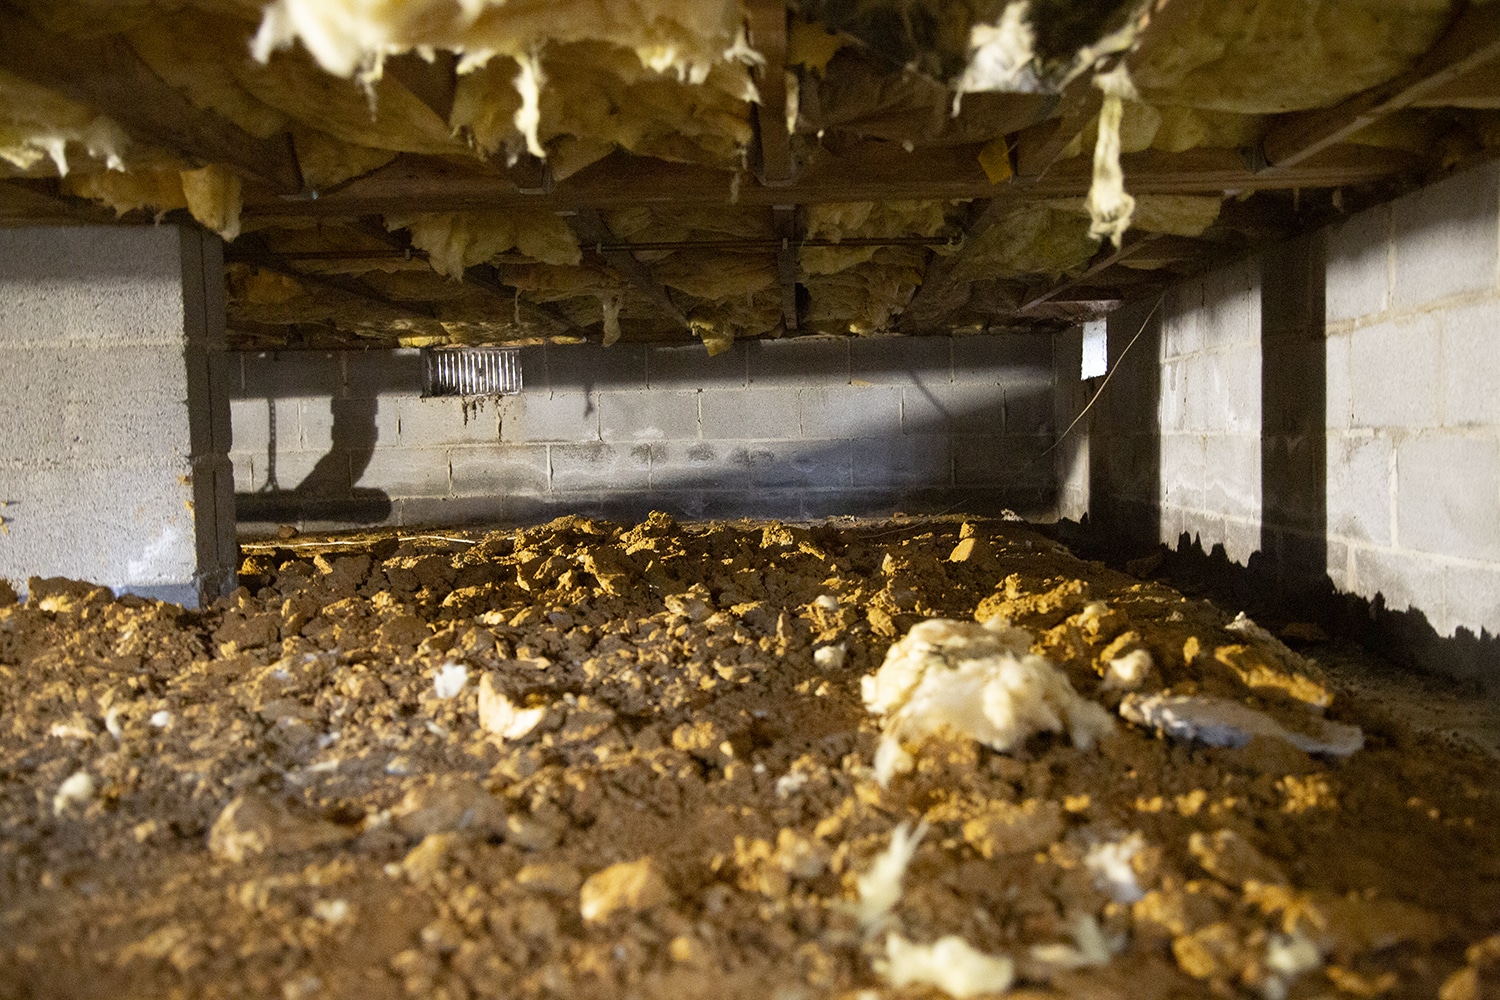
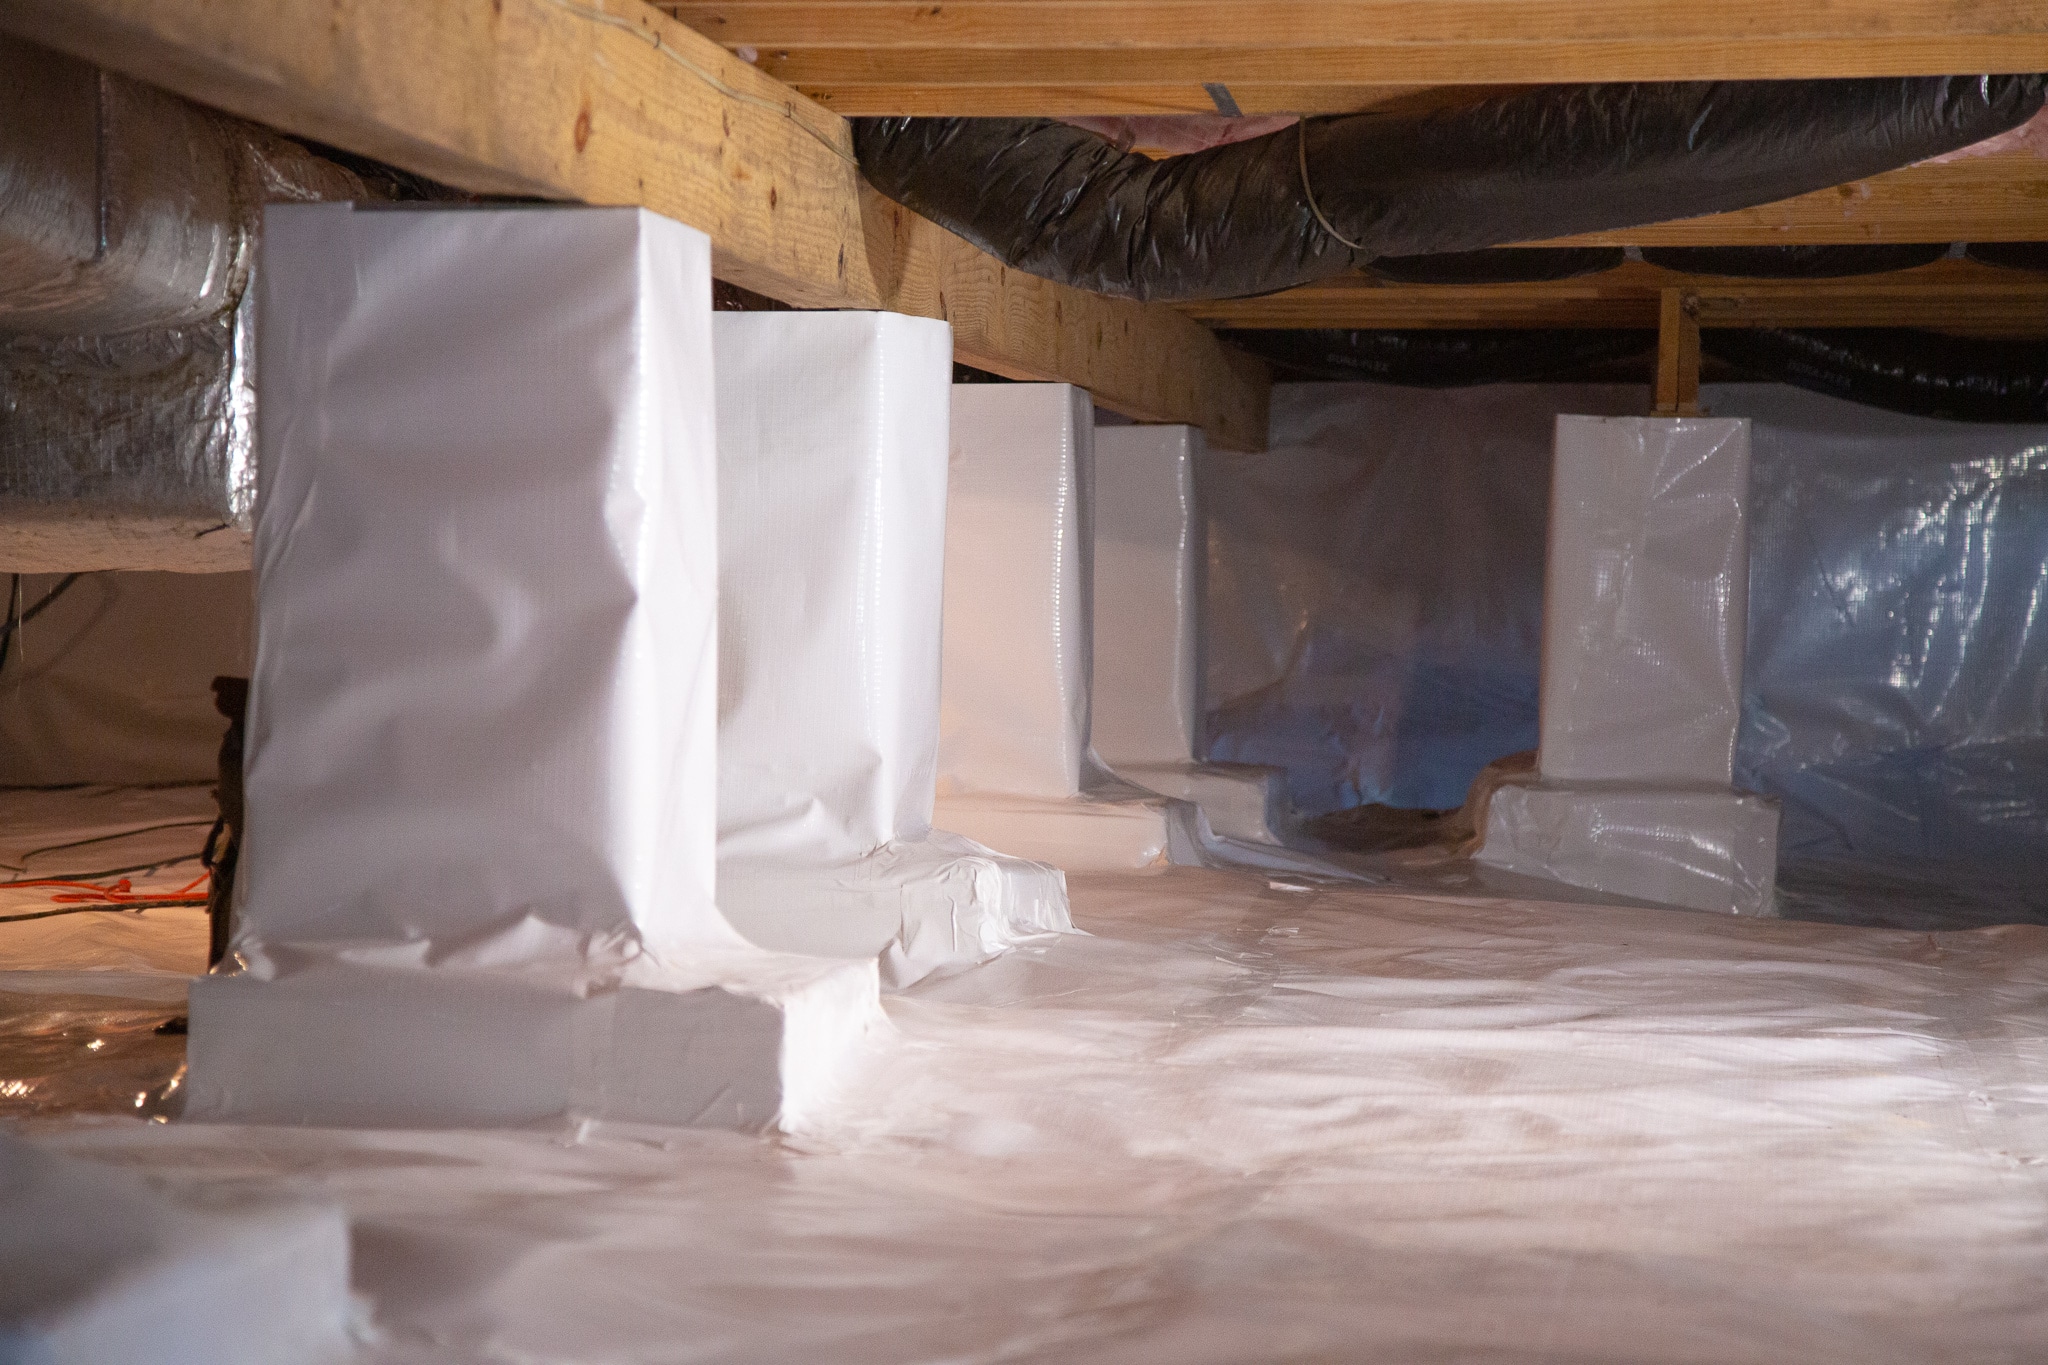
Before and After Images of Crawl Space Encapsulation Installation
See the transformation of a previously damp, uninviting crawlspace into a dry, clean, and safe area.
Let's Work Together
Why Choose LUX Foundation Solutions Crawl Space Encapsulation?
- High-quality Rip and Tear Resistant Class 1 Vapor Barrier to keep out moisture
- Professional installation by experienced experts
- Sealed vents to improve energy efficiency
- Mold-inhibiting materials for a healthier home
- Encapsulation products are manufactured with top-quality materials
- USA-manufactured materials
- Save up to 20% on your home energy bill
- Increase home's value
- Improved air quality and home health
- 25-year transferable warranty
Contact the LUX team now for Expert Crawl Space Encapsulation
At LUX Foundation Solutions, we know the crucial role a healthy crawlspace plays in your home’s integrity. To protect your space from potential issues, our dedicated team specializes in providing effective crawl space encapsulation, individually designed to transform your crawlspace into a clean, secure, and comfortable environment for your home, providing you with peace of mind.
If you’ve detected signs of moisture, mold, high humidity, or water in your crawl space, LUX Foundation Solutions can help. We offer complete crawl space repair services to fix your crawlspace problems permanently. Contact your local crawl space repair experts today at
540-508-8587 for a free estimate, or fill out our online estimate form.
We are proudly serving crawl space encapsulation in Northern Virginia, West Virginia, North Central Virginia, Shenandoah Valley, and surrounding areas.
Request a free Estimate
FAQ's
Crawl space encapsulation creates a sealed, moisture-controlled environment beneath the home. Installing vapor barriers and sealing the space aims to prevent moisture intrusion, thus eliminating mold and wood rot and preventing structural damage.
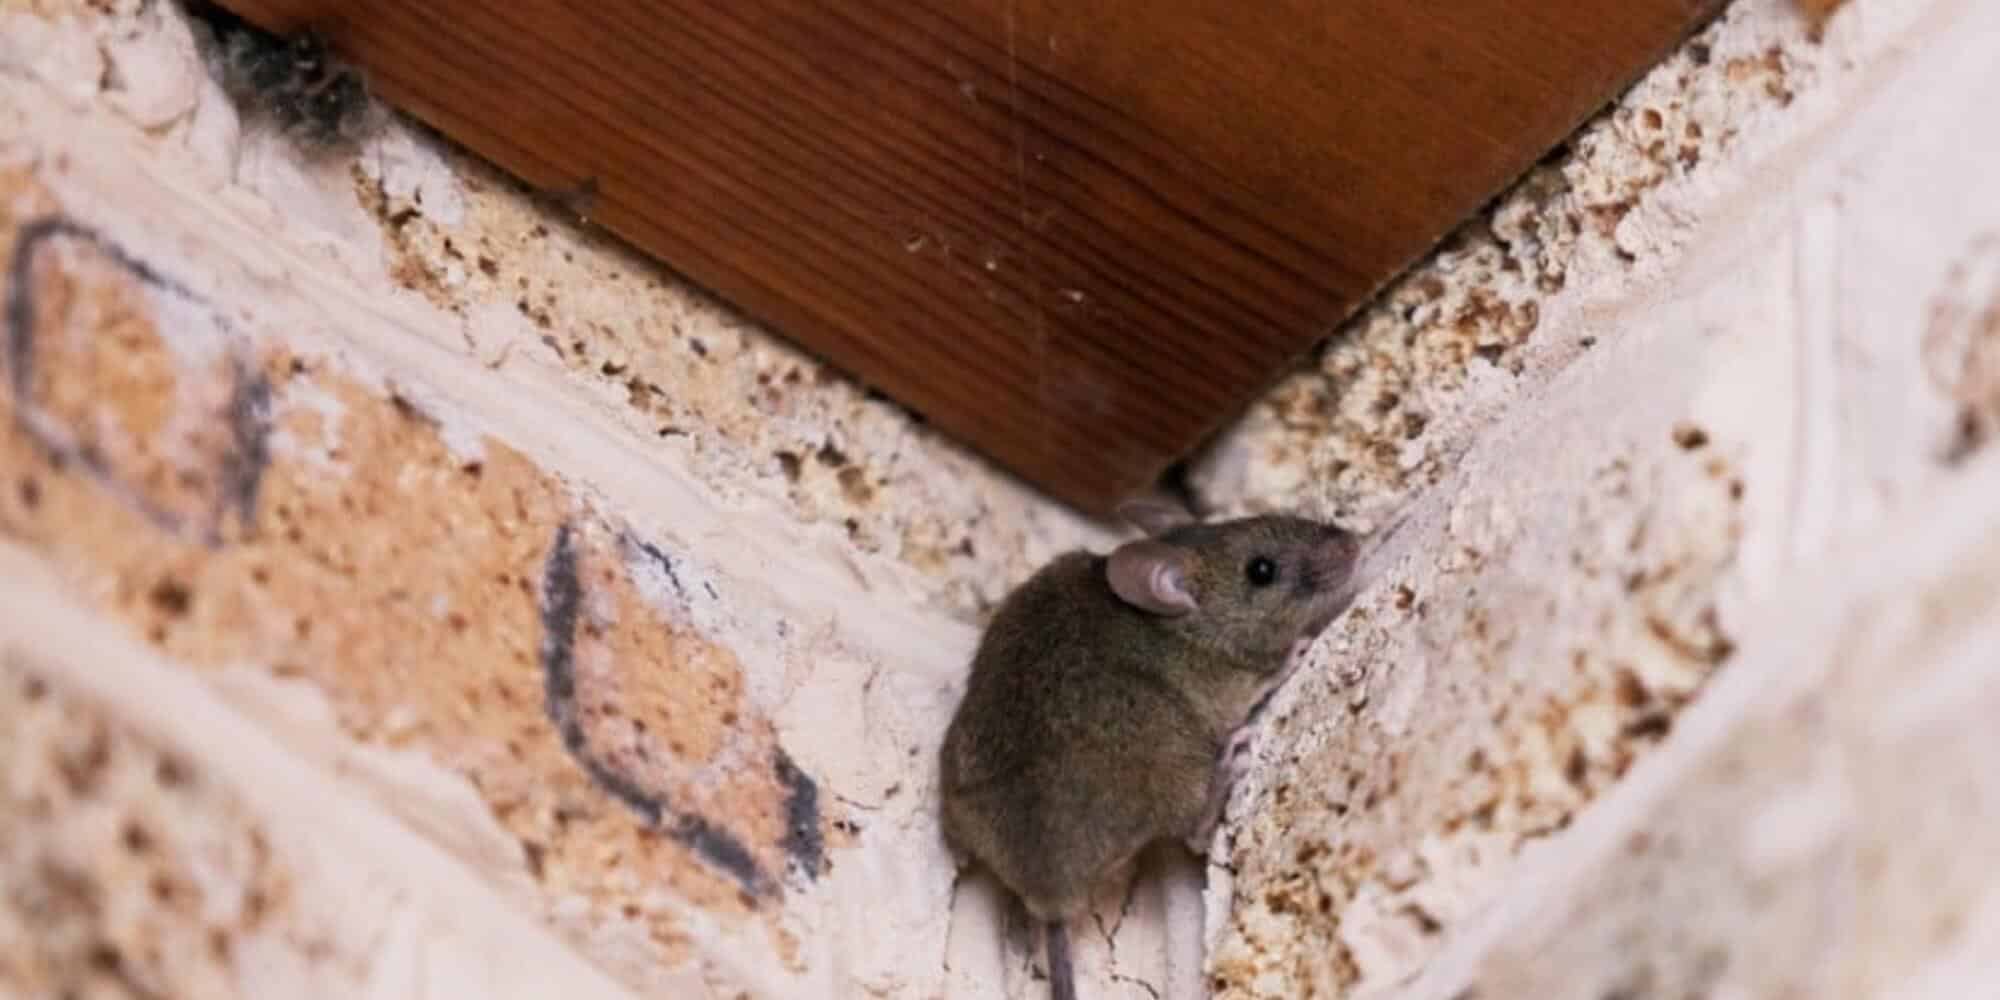
Additionally, this process enhances indoor air quality, minimizes the risk of pest infestations such as mice in crawlspace, and contributes to maintaining the integrity and longevity of the home’s structure.
The duration of the encapsulation process typically spans from 1 day to an average of up to 2 weeks, contingent upon the size and specific requirements of your crawlspace. This timeline is subject to variation based on individual space needs. During the assessment, our experts will provide a precise estimate tailored to your crawlspace’s conditions and the encapsulation requirements.
In moisture-prone areas, it’s highly recommended. It helps maintain ideal humidity levels. This additional step helps prevent and mitigate problems such as mold growth and structural damage, ultimately contributing to a healthier environment within the crawlspace by controlling excess moisture and associated issues.
Encapsulation prevents further growth. However, while it helps manage moisture levels, it may not entirely eradicate pre-existing mold. Additional mold remediation measures might be required to fully eliminate and address the current mold issues in the space.
Several signs indicate the need for crawlspace encapsulation, including musty odors, increased energy bills, visible moisture or mold growth, insect infestations, and sagging floors. Identifying any of these issues signals the necessity for a prompt assessment to address and mitigate potential problems, ensuring a healthier and more stable environment within your home.
DIY crawl space encapsulation should not be an advisable path. Here are some significant points to bear in mind:
- The quality of the material and installation is critical for encapsulation to be effective. Most plastics will disintegrate after a period of time due to lower quality. Professional-grade materials ensure longevity and optimal performance. Most vapor barriers do not meet the required standards for fire rating and moisture permeability ratings.
- When undertaking encapsulation as DIY, there’s no warranty or professional support available in case issues arise. This lack of coverage might lead to unforeseen expenses and complications, as the quality of installation might not meet professional standards.
- DIY repairs can often produce challenges if not done correctly when it comes time to sell the home. Inadequate encapsulation could be flagged during property inspections, potentially affecting the home’s value or leading to negotiation hurdles.
- DIY projects often overlook long-term factors essential for the effectiveness of crawlspace encapsulation. Professionals are trained to recognize these elements during the assessment process, preventing potential costly issues in the future.
Sealing off the crawl space from external elements minimizes the infiltration of cold or hot air, reducing the workload and thus improving the HVAC systems’ efficiency. This process helps lower energy consumption and, consequently, reduces utility costs.
The cost of crawl space encapsulation can significantly vary based on several factors, including the size of the space, materials used, and any necessary additional work. On average, the cost for crawlspace encapsulation can range as follows:
- Small crawlspace: $3,000 to $7,000 (approximately)
- Medium crawlspace: $7,000 to $15,000 (approximately)
- Large crawlspace: $15,000 to $35,000 or more
For more in-depth projects of all-size houses that may require structural repairs such as posts, main beam adjustments, sistering, or other significant work, the cost could start from $15,000 and increase based on the complexity and extent of the repairs.
It’s important to note that these figures are approximate ranges. The specific cost for your crawlspace encapsulation can be accurately determined after our professionals assess your crawlspace’s unique features and conditions. This personalized evaluation will provide a more precise estimate tailored to your project’s requirements.
Yes, an encapsulated crawl space benefits significantly from insulation. While the encapsulation process creates a sealed and conditioned environment, adding insulation further enhances the space’s energy efficiency and temperature control.
By installing insulation in the walls and subfloor, we create a thermal barrier that prevents heat loss in colder months and maintains a consistently comfortable temperature. This contributes to energy savings and protects your home from potential issues such as frozen pipes.
We Serve the Following Areas
We are proud to provide our crawl space encapsulation service in Northern Virginia, West Virginia, North Central Virginia, Shenandoah Valley, and surrounding areas.
Blog Posts Related to Crawl Space Repair
Stay informed about the home foundation’s health and landscaping solutions with our insightful blog articles. These resources are designed to help you understand the essentials of property maintenance, foundation safety, and drainage solutions.

